Create custom tags and organize them into groups for faster logging. Tags can be anything from actors, cameras, situations, locations, to QC notes. Whatever is repetitive or saves time. The tags are attached to each log and make searching later even faster and much more efficient.

Quick action buttons can be created to be used for instant note creation during logging. They can be pre-defined with a comment and combined with tags when pressed. Buttons can be an event, a person making a comment, or a predefined interaction.

All notes are displayed in chronological order on a timeline similar to the one used in film editing software. In addition to the individual buttons, the app also has a "Repeat Note" button and a "Good Take" button.

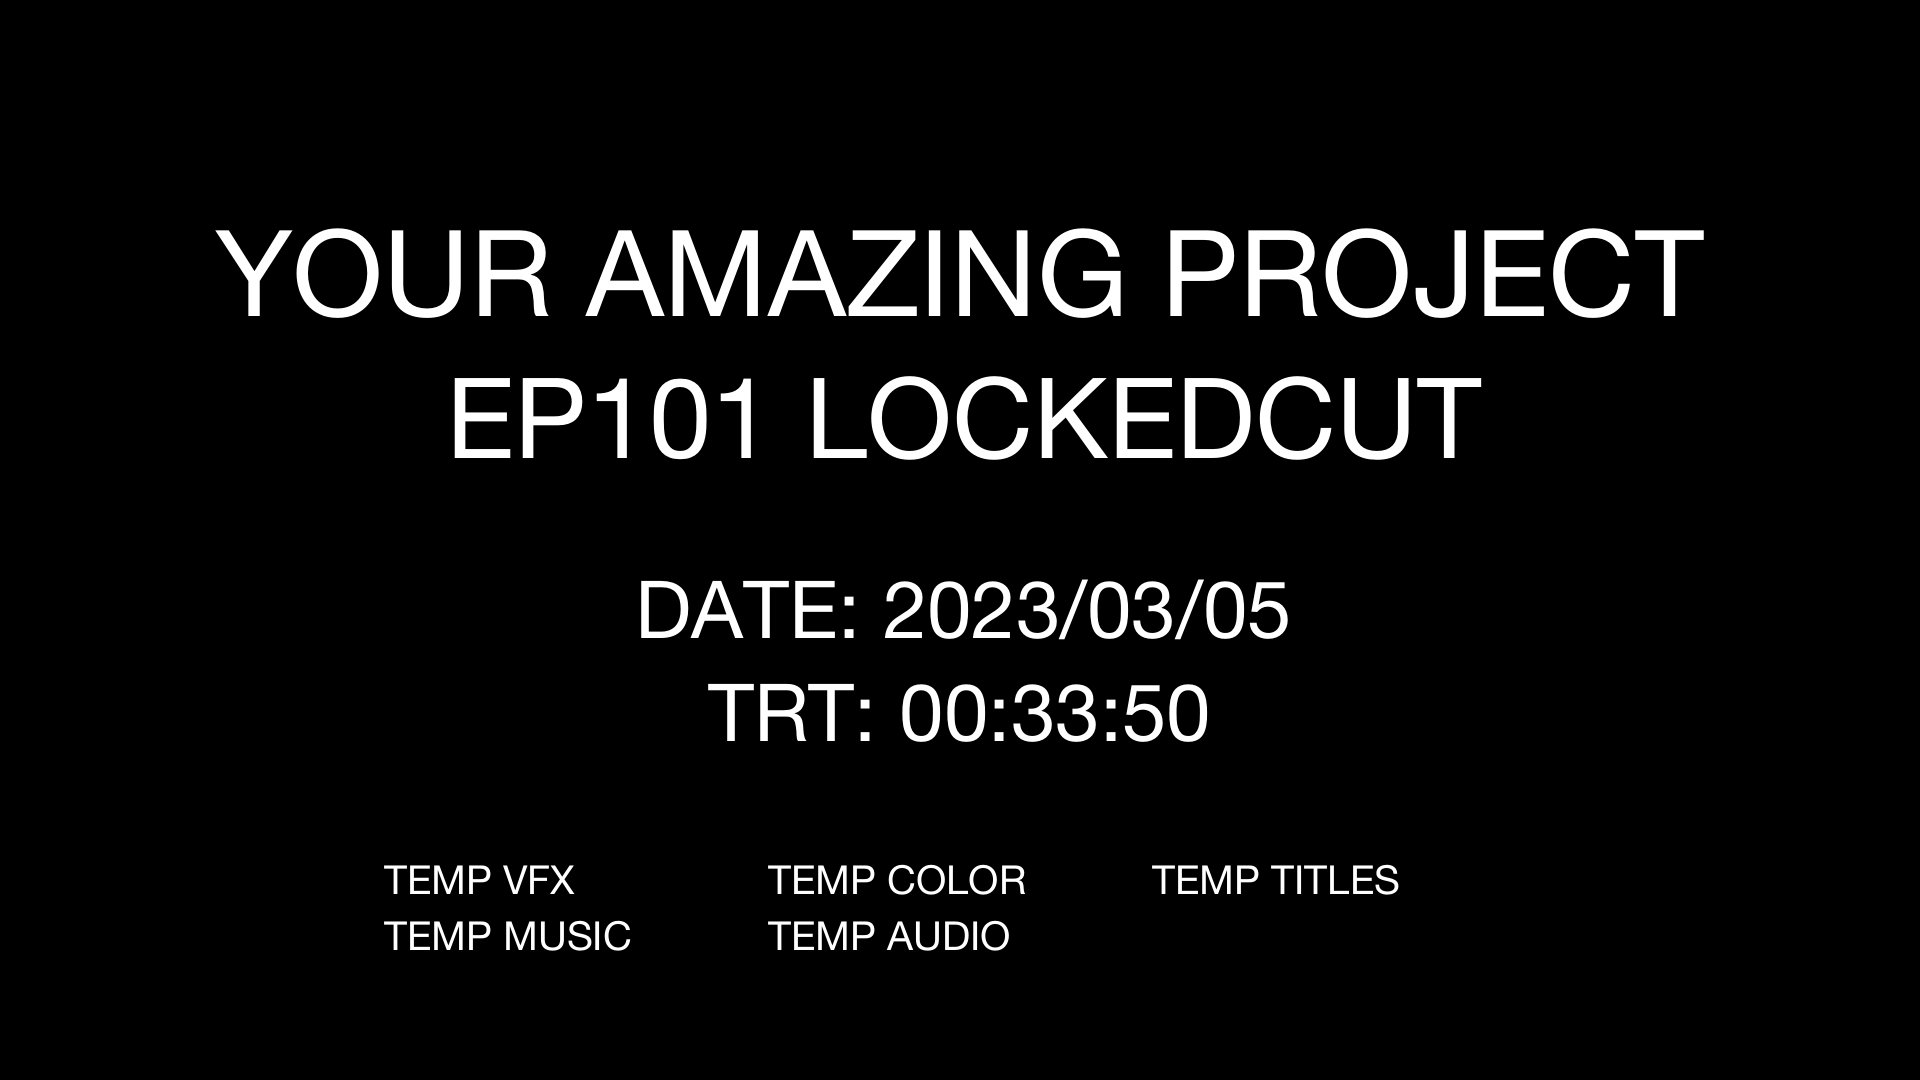
Custom projects can be created for each event or day of shooting. Projects can be duplicated and used as a preset for repeating shows to have your custom tags and buttons already prepared. You can also add details to a project, such as the location, shooting date, logger name an more.

Notes can be created and edited using a name, comment, color, and tags. The timecode for a note is paused as text is entered. This means: No need to rush to write a new note, the timecode of the event will be logged correctly. Also, any mistake can be corrected later.

Set the app timecode to match your film project framerate. We support all commonly used frame rates:
23.976, 24, 25, 29.97 NDF/DF, 30, 48, 50, 59.94 NDF/DF, 60
The app supports the use of an external timecode device via Bluetooth. Just make sure the timecode device is active and nearby, and you can sync to the timecode specified by the device. This is useful when working on a set where the timecode used by the cameras may be different from the time of day (TOD).
Supported devices: Tentacle Sync E, Track E, Timebar, Ambient LockitBT
Tentacle Sync Ambient LockitBT
For situations where you need to comment on a web stream that is in a different timezone, you can change the project timezone at any time and the timecode will be converted to the timezone relevant time of day (TOD) without having to change the device time.

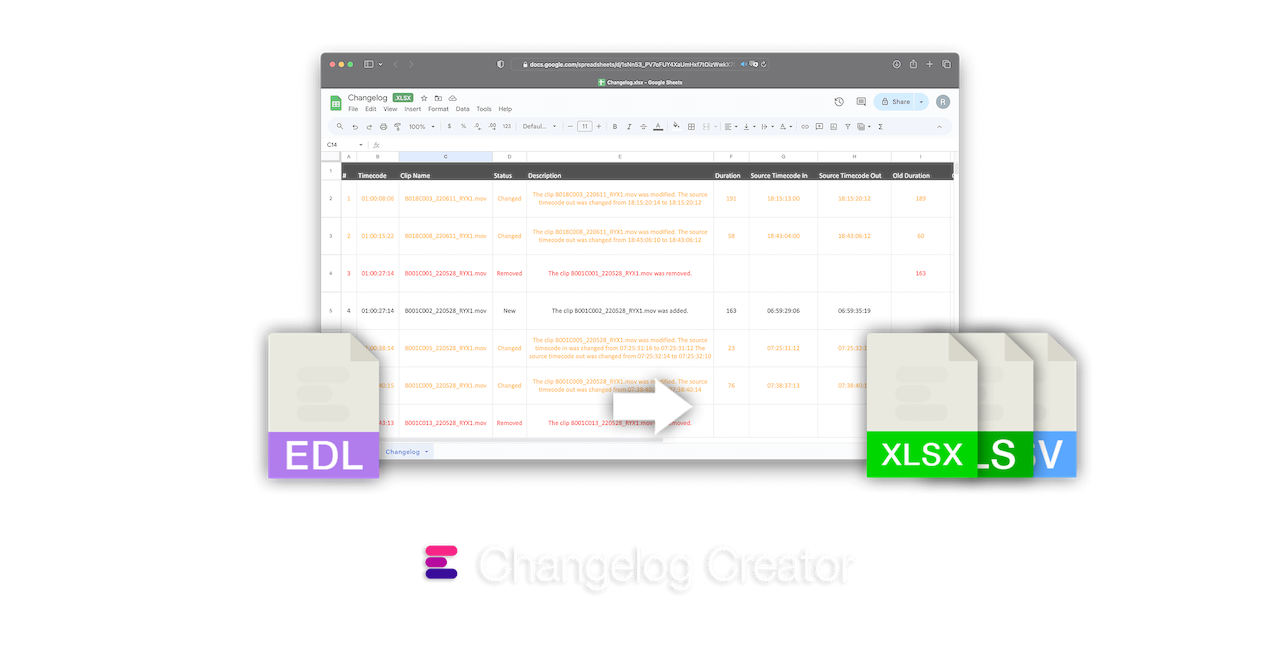
The app has the ability to export all notes in easy-to-read format such as PDF, as well as CSV and TSV which can be easily converted into a spreadsheet or Excel file, for example.

All notes can be exported as timeline marker for use in a NLE (film editing software).

Notes can be merged into existing ALE files from an camera. This allows the notes to be linked to the relevant takes and scenes. This is a great option for people who do not have time to keep track of take numbers and want to focus on the notes.

In some cases, a caption file may be an even better solution, so notes can also be exported as 3-second captions (unless a caption is interrupted by the next note).

Entire projects can be imported or transferred to and from other devices or to an EditingTools.io account using a project transfer file. The file contains all notes, buttons, tags and project information. It can also be used as a preset or backup file.
The app includes two fictional demo projects to help you get started and try out the app. There are many use cases for this app: logging a TV show, taking VFX notes on set, taking live QC notes, commenting on a car race, tracking network tests, taking audio notes, recommending a podcast, and more.

We built this app with security in mind, which means no data is shared with third parties and everything is stored and processed locally unless you choose to share the files via iOS. Data processing is local, secure and confidential and can be used for critical projects and events.


English, Arabic, Bulgarian, Czech, Danish, Dutch, Estonian, Finnish, French, German, Greek, Hungarian, Indonesian, Italian, Japanese, Korean, Latvian, Lituanian, Norwegian Bokmäl, Polish, Portuguese, Romanian, Russian, Slovak, Slovenian, Spanish, Swedish, Turkish, Ukrainian

Whether you're a developer or just want to automate more processes with tools like Zapier or Make, you can easily integrate this tool into your workflows with our API. Learn more about integrating the REST API in our API documentation.
API Documentation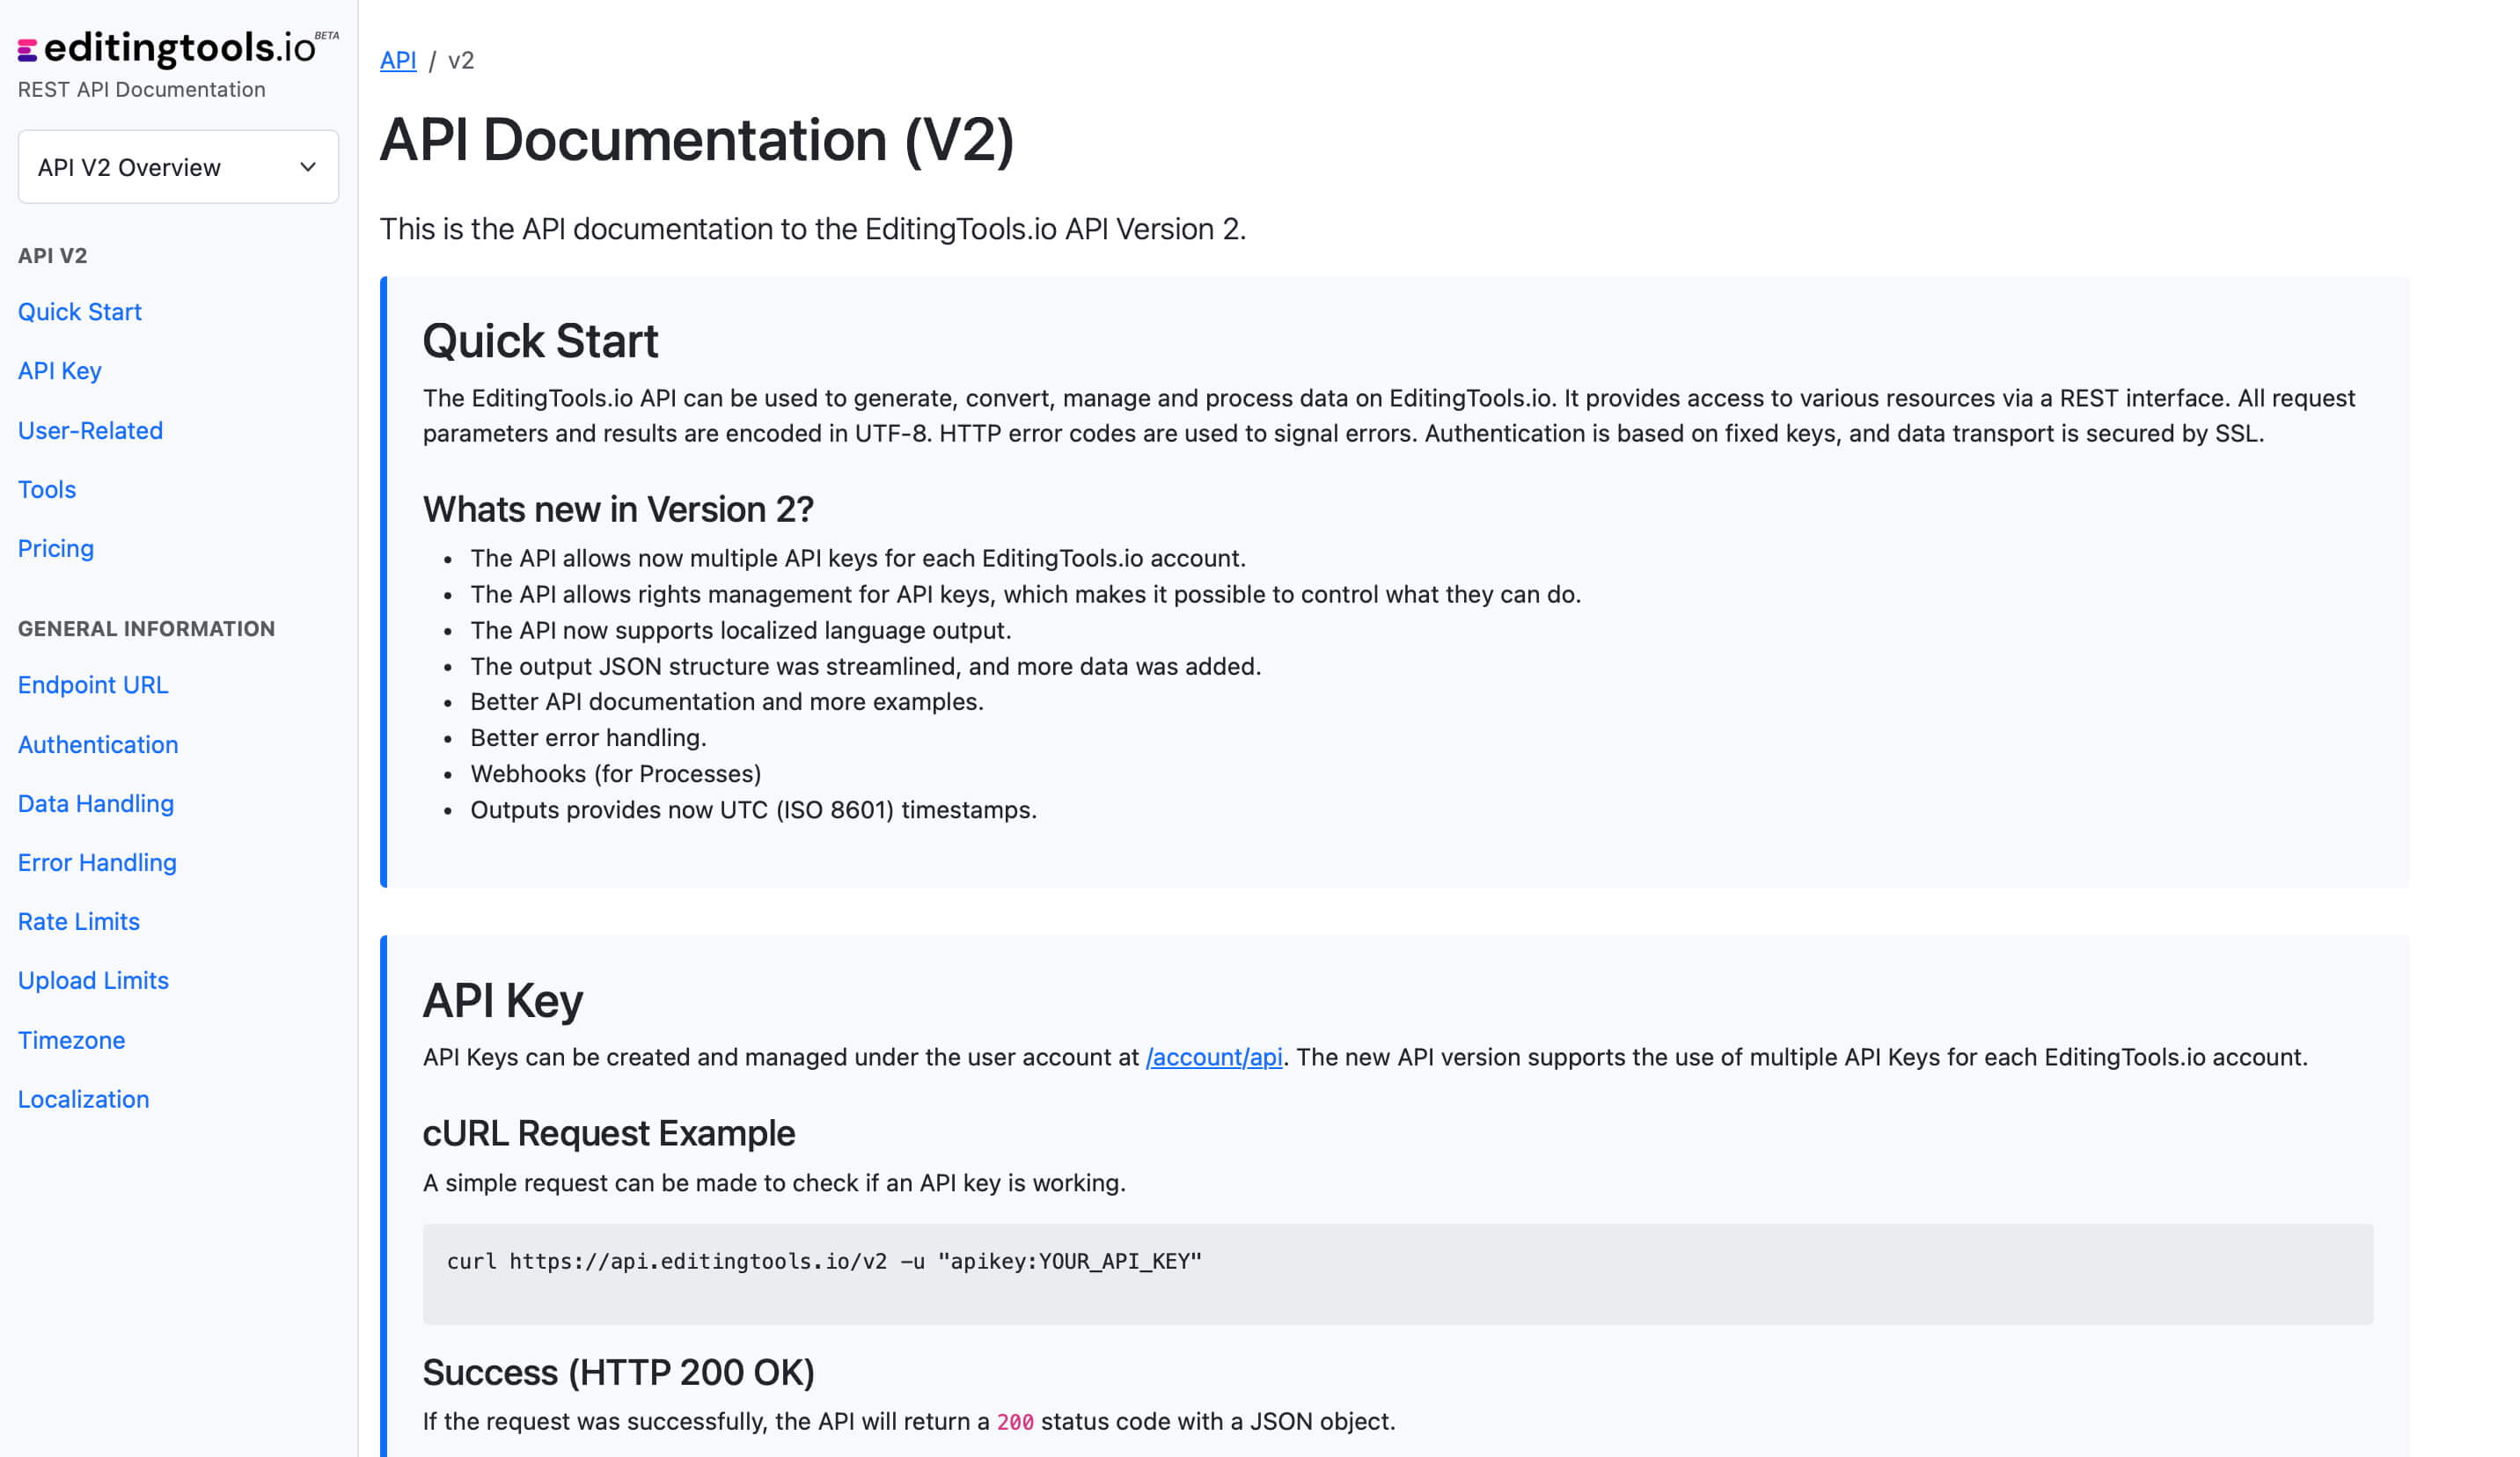
Features |
Free Trial |
Full version |
|---|---|---|
| Projects | 3 | unlimited |
| Join Online Team Sessions | 3* | unlimited |
| Create Online Team Sessions | An API key is required and can be generated with a free EditingTools.io account. | |
| Tags (per project) | 10 | unlimited |
| Buttons (per project) | 5 | unlimited |
| Supported export formats | PDF, CSV, OTIO, XML, EDL, TXT, JSON | All + ALE, TSV, SubRip, Avid DS |
| Import projects | ❌ | ✅ |
| Transfer projects | ❌ | ✅ |
The app comes with a free plan to try all the basic features and a paid plan that unlocks all the features. We also offer an Enterprise Version with lifetime access that does not require a subscription. The app is exclusively available on the Apple App Store for iOS and macOS devices.
In your project, go to "Export notes" and choose "XML Marker (Premiere Pro)". If you are using Premiere Pro Beta or Premiere Pro 2026+ you can also use "OTIO Marker". Activate "Sort by timecode".
In Premiere Pro, go to "File -> Import" and select the file. It will import a new sequence. To copy to an existing sequence, use an adjustment layer placeholder.
Choose "TXT Marker (Media Composer)". Sort by timecode.
Open sequence -> Tools -> Marker -> Right Click: Import Markers -> Select TXT file.
Bring markers into Pro Tools via PTX, MIDI, or EDL. PTX is the recommended format for color and session data support.
| PTX Session Data | MIDI File | |
|---|---|---|
| Marker colors | Yes | No |
| Timecode Start | Yes | Yes |
File > Import > Session Data. Check "Ruler Markers / Memory Locators".
1. Right click sequence in Media Tab.
2. Timelines > Import > Timeline Markers from EDL.
3. Select the Resolve EDL file.
If you have any questions or feature requests, please contact our support team. We are happy to assist you!
Use the "Transfer project" option in the application to generate and export a .json. This can be backed up or imported into your EditingTools.io account. Note that you may need a subscription to do this. If you are using the free version of the app, you can back up your notes by exporting a .csv instead.
Yes
No, this is not possible at this time. The app requires a separate license and subscription. However, you may be eligible for a discount on the ios app subscription if you have an active EditingTools.io subscription. Please contact our team for further details.
Simply delete the "Live Notes" app from your device.
Delete the "Live Notes" folder under "/Users/{username}/Library/Containers/Live Notes".
Simply delete the Live Notes.app file in your Applications folder. To remove the database, delete the Live Notes folder under "/Users/{username}/Library/Containers/Live Notes".
No. The iOS app and the app on EditingTools.io are two different applications and you currently need a license for each.
Yes, you can still open your projects and export your notes in the free formats after your subscription ends.